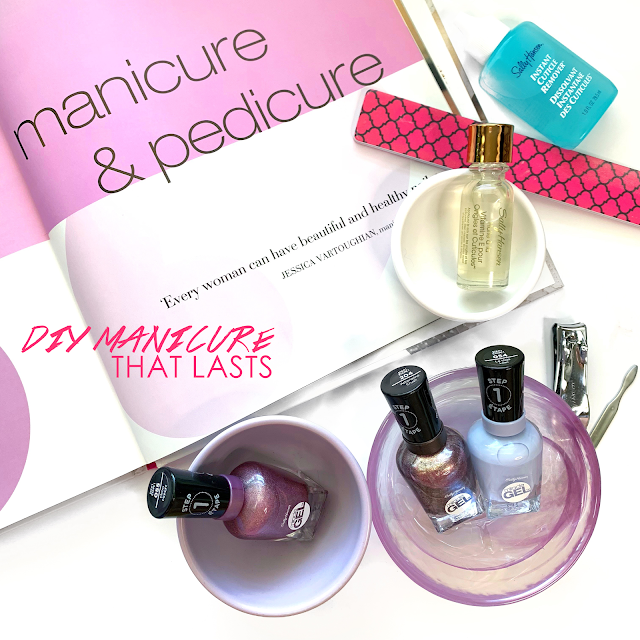
Getting the perfect manicure at home can be a challenge, but it is a great way to save some time and money if you can master the steps. Here are my tried and true steps and products for a DIY mani that will last! [video here]
1- It's all in the PREP
Consider the time that is spent at the nail salon PRIOR to applying the polish. All of the prep-steps matter, and are crucial to getting a mani that lasts.
So be sure you:
- File and shape the nails- do this first so that the polish can wrap around the finished edge for a stronger bond.
- Soften and push back the cuticles, my fav product for this is the Sally Hansen Cuticle Remover
- lightly buff the shine off of the nail
2- Polish in THIN even layers (2-3 layers with a 2 minute wait time in between each)
- The thinner the layers, the less likely you'll smudge and the quicker you will dry try the Sally Hansen Miracle Gel it's the best!
- Start painting holding the brush with your NON-Dominant hand, this will help avoid smudging. And take your time, nice slow swipes work best- start from the middle of the nail and work back towards cuticle to keep the cuticle polish free.
- Work from the pinky finger inward to help avoid accidental bumps and smudges
3- Top Coat and BE PATIENT
- Keep the top coat layer thin as well for best results, Sally Hansen makes a gloss or a matte finish which I love for a more modern look.
- Wait 10-15 minutes before moving but remember polish can smudge for up to 90 minutes after it's applied so be careful with hands until you're in the clear
Happy Polishing!


